Cupcakes: The Delightful Treat That Never Goes Out of Style
When it comes to sweet treats, there’s one that has stood the test of time and continues to bring joy to people of all ages – cupcakes. These miniature cakes have become a beloved dessert around the world, and for good reason. From their endless flavor possibilities to their visually appealing designs, cupcakes are a delightful indulgence that never goes out of style.
1. The Versatile Flavor Palette
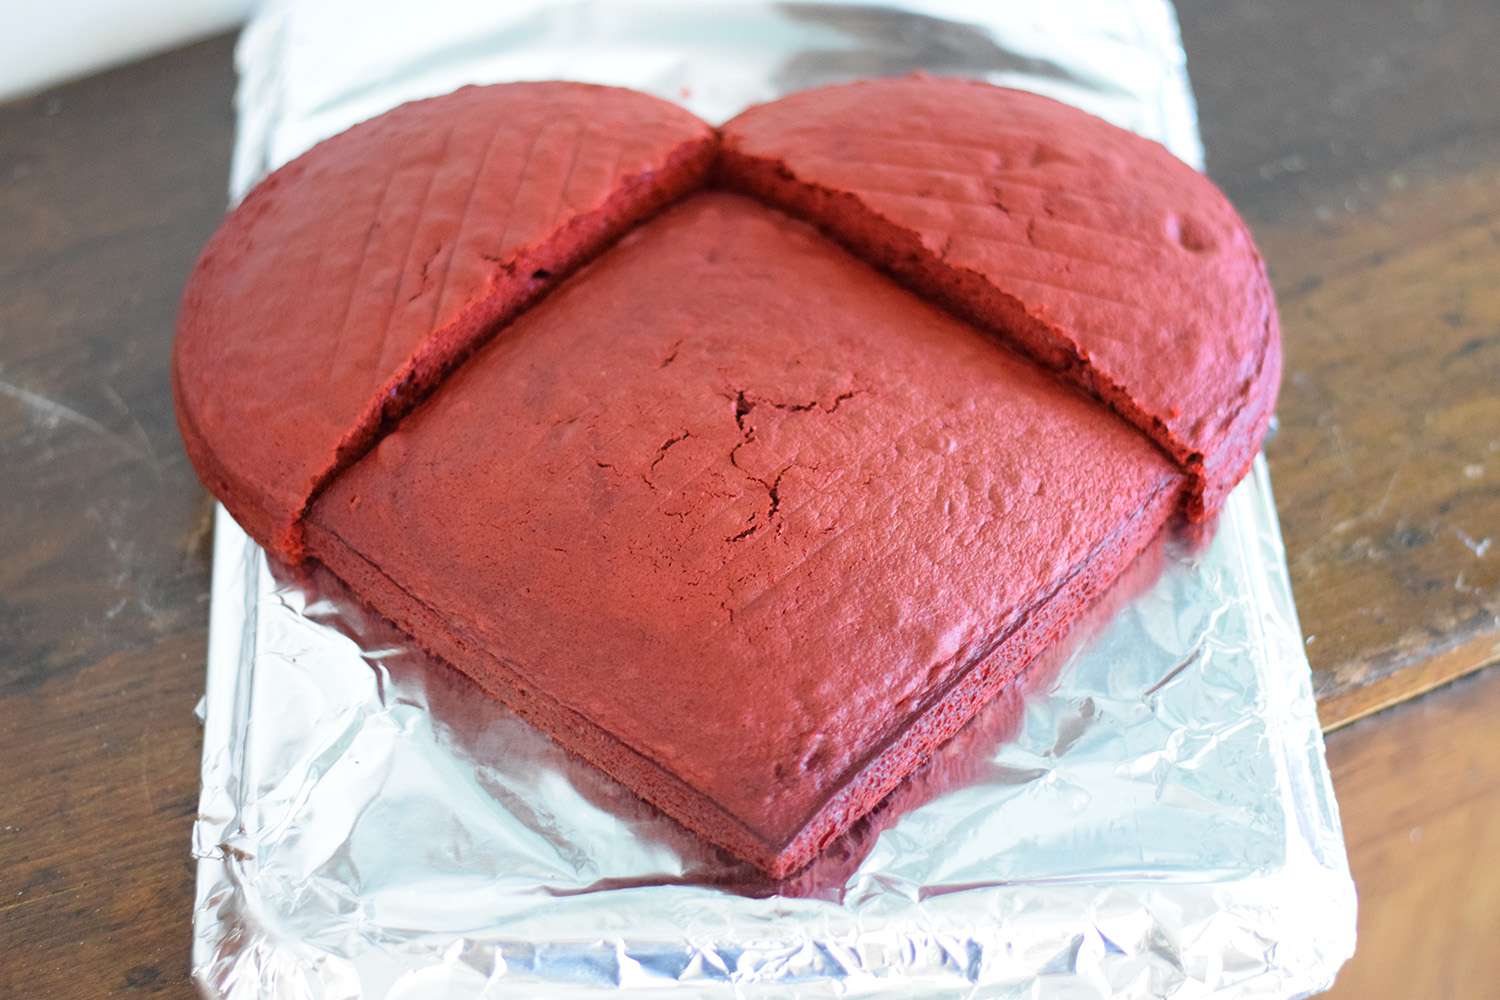
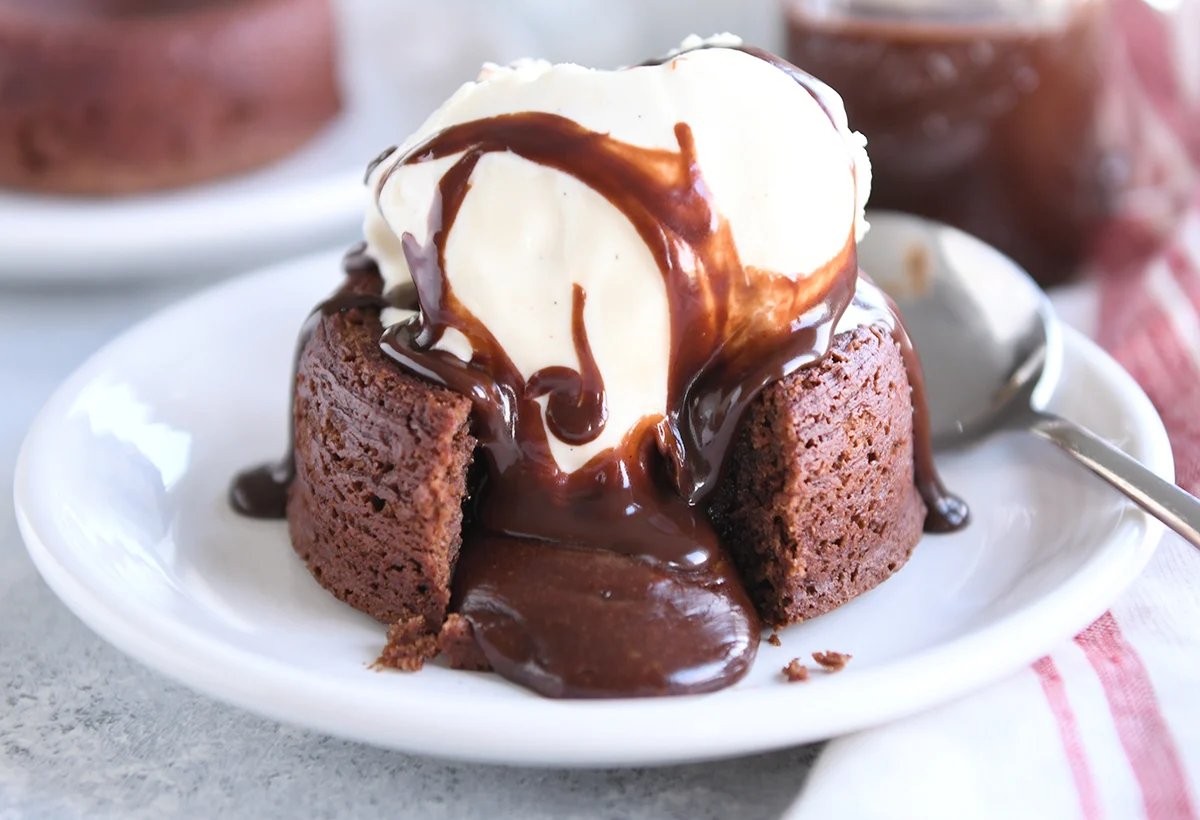
One of the reasons cupcakes have become so popular is their ability to cater to a wide range of taste preferences. Whether you’re a fan of classic flavors like vanilla and chocolate or crave something more adventurous like red velvet or salted caramel, there’s a cupcake for every palate. The versatility of cupcakes allows bakers to experiment and create unique flavor combinations, making them a true culinary delight.
2. Aesthetically Pleasing Designs
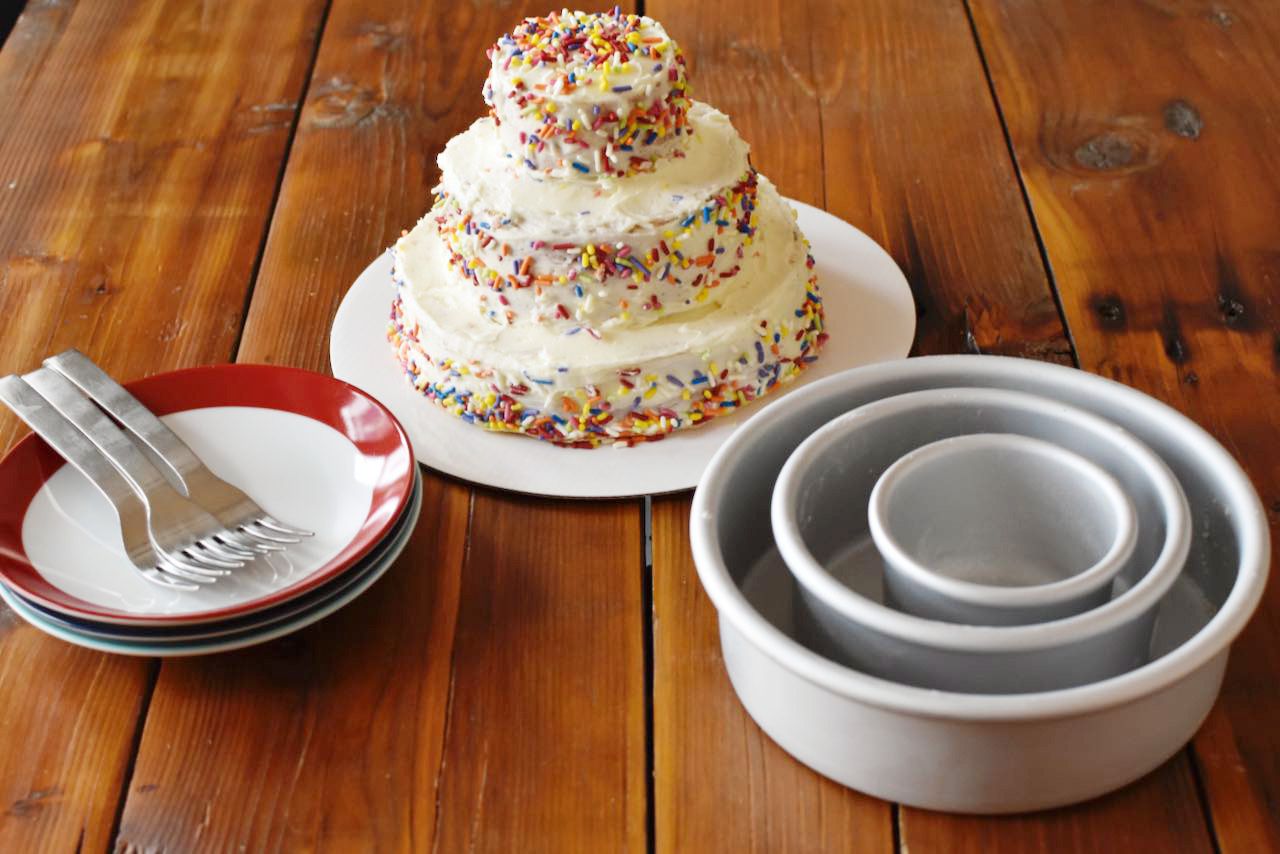
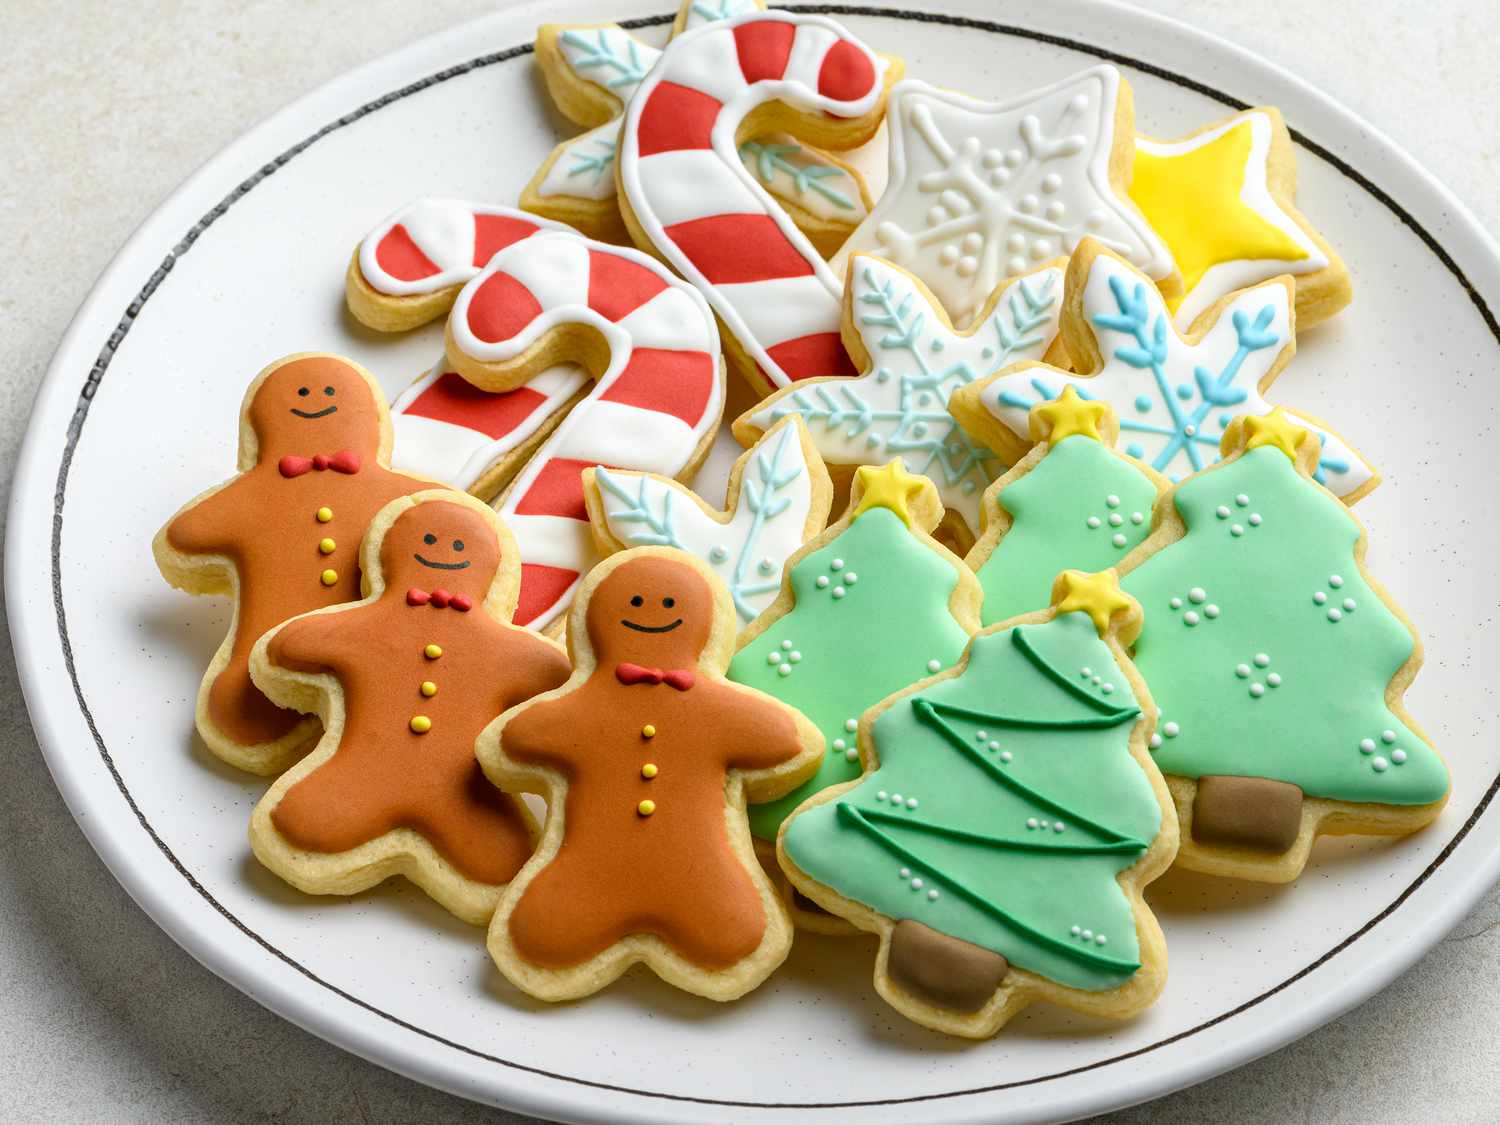
When it comes to cupcakes, the saying “you eat with your eyes first” couldn’t be more accurate. Cupcakes are like little works of art, with their beautifully piped frosting, sprinkles, and decorative toppers. Bakers have embraced the opportunity to showcase their creativity through cupcake designs, resulting in stunning creations that are almost too pretty to eat. From elegant wedding cupcakes to whimsical themed cupcakes, there’s no limit to the artistic possibilities.
3. Portability and Individual Servings
Another advantage of cupcakes is their individual serving size, which makes them perfect for parties, events, or simply satisfying a sweet craving. Their portable nature eliminates the need for cutting and serving, allowing for easy consumption on the go. Cupcakes can be enjoyed at any occasion, from birthday parties to office gatherings, making them a convenient option for any dessert lover.
4. Fun for All Ages
One of the reasons why cupcakes have remained popular throughout the years is their universal appeal. Children and adults alike adore these bite-sized treats. Whether it’s the excitement of blowing out candles on a birthday cupcake or the nostalgic feeling of indulging in a childhood favorite, cupcakes never fail to bring a smile to people’s faces. They evoke feelings of joy, celebration, and pure indulgence.
5. Endless Possibilities for Customization
Cupcakes offer endless opportunities for customization, allowing individuals to personalize their desserts to their liking. From choosing different cake flavors to selecting a variety of frosting options, the possibilities are as vast as one’s imagination. This versatility makes cupcakes ideal for catering to dietary restrictions and preferences, including vegan, gluten-free, and sugar-free alternatives.
Conclusion
Cupcakes are more than just a dessert. They are a symbol of happiness, creativity, and indulgence. With their versatile flavors, visually appealing designs, and individual servings, cupcakes have become a timeless treat that brings people together. So, the next time you find yourself craving something sweet, why not treat yourself to a delicious cupcake? After all, life is sweeter with cupcakes.
Was this page helpful?
Read Next: Tips For Perfect Cheesecake
Related Articles