How to Bake a Cake: A Step-by-Step Guide
Do you love cake? Who doesn’t, right? There’s something magical about the aroma of a freshly baked cake that fills the house and brings a smile to everyone’s face. Whether you’re a baking novice or a seasoned pro, this step-by-step guide will help you create a delicious homemade cake that will impress your friends and family. So, let’s dive right in and learn how to bake a cake!
Step 1: Gather Your Ingredients
Before you begin, make sure you have all the necessary ingredients in your pantry. Here’s what you’ll need:
- Flour: Choose all-purpose flour for a versatile cake base.
- Sugar: Granulated sugar adds sweetness to your cake.
- Eggs: Large eggs will provide structure and moisture.
- Butter: Unsalted butter is ideal for controlling the salt content.
- Milk: Use whole milk for a rich and creamy texture.
- Baking Powder: This leavening agent helps the cake rise.
- Vanilla Extract: Add a touch of flavor with pure vanilla extract.
Step 2: Preheat the Oven
Preheating the oven is crucial to ensure even baking. Set your oven to the recommended temperature stated in your recipe. Typically, this is around 350°F (175°C).
Step 3: Prepare the Cake Pans
Grease your cake pans with butter or cooking spray to prevent the cake from sticking. Dust a light layer of flour evenly over the greased pans, tapping out any excess.
Step 4: Mix the Batter
Now, it’s time to mix the batter. In a large mixing bowl, combine the flour, sugar, baking powder, and a pinch of salt. In a separate bowl, whisk together the eggs, melted butter, milk, and vanilla extract. Gradually add the wet mixture to the dry ingredients, stirring until just combined. Be careful not to overmix, as this can result in a dense cake.
Step 5: Fill the Cake Pans
Evenly divide the batter between the prepared cake pans. Use a spatula to smooth the tops, ensuring an even surface for baking.
Step 6: Bake the Cake
Place the cake pans in the preheated oven and bake for the recommended time specified in your recipe. Avoid opening the oven door too frequently, as this can cause the cake to sink. To check if the cake is done, insert a toothpick into the center. If it comes out clean or with a few moist crumbs, it’s ready to be removed from the oven.
Step 7: Let the Cake Cool
Allow the cakes to cool in the pans for about 10 minutes. Then, transfer them to a wire rack to cool completely. It’s important to let the cakes cool before frosting to prevent the frosting from melting.
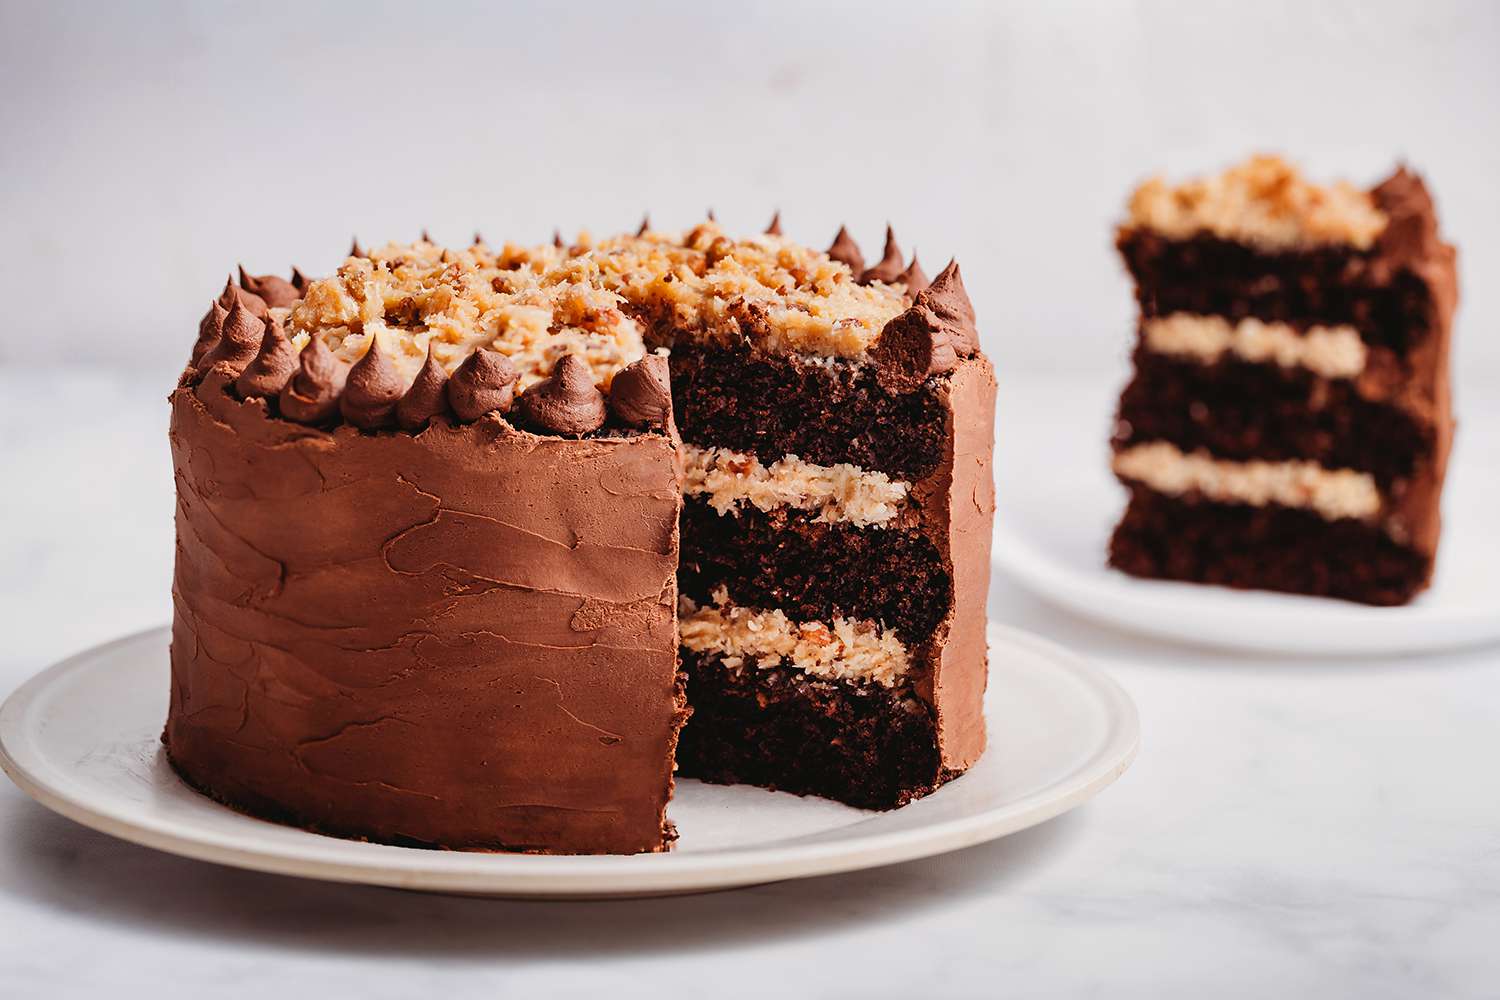
Step 8: Frost and Decorate
This step is where you can get creative! Choose your favorite frosting, whether it’s buttercream, cream cheese, or chocolate ganache, and generously frost the cooled cakes. Add any decorative touches, such as sprinkles, fruit, or edible flowers.
Step 9: Enjoy!
Now that your cake is beautifully frosted and decorated, it’s time to indulge! Gather your loved ones, slice into the cake, and savor each delicious bite.
Baking a cake is a rewarding experience that allows you to unleash your creativity in the kitchen. Follow this step-by-step guide and experiment with different flavors and decorations to create your own signature cake. Happy baking!
Was this page helpful?
Read Next: Quick And Easy Gingerbread House
Related Articles